一、Windows安装cygwin
自行搜索安装包进行下载,目前官网无法打开。官网地址:http://www.cygwin.com/
1. 打开安装包:setup-x86_64.exe

2. 点击“下一页”,选择第一种方式后再点击“下一页”

3. 更改安装目录为D:\cygwin64后,点击“下一页”

4. 选择组件包的存放位置,设置为D:\cygwin64\package,然后点击“下一页”

5. 选择连接方式,选择第二种方式后点击“下一页”

6. 由于网络原因可能会出现以下情况,点击“确定”即可

7. 在User URL中输入http://mirrors.163.com/后点击“Add”,并选择它点击“下一页”


8. 进入下载包的页面,如下图所示。在Search中输入需要下载的包并选择版本,第三张图片展示了所需要的组件,将这些组件选中后点击“下一页”,如果遗漏了某一个组件也不用卸载cygwin,只需要再次打开安装包,按上述步骤执行到此处,进行搜索遗漏的组件进行选中,然后再次下载即可。


9. 最后选中创建快捷方式并点击“完成”

1. 在Windows系统下找到【编辑系统环境变量】,添加系统变量的路径

2. 添加到该安装文件夹中的bin文件夹下

打开cygwin快捷方式(即命令行),输入cygcheck -c cygwin
测试gcc、gdb是否安装成功


- 安装apt-cyg(安装后能够像Linux系统一样使用apt-get install/remove命令安装卸载软件)()
1. 下载之后解压文件

2. 打开Cygwin,输入apt-cyg install/remove vim即可安装/卸载

二、安装PHP swoole扩展
swoole 下载地址(官网下载的文件试过后不能安装,所以推荐下面):
https://gitee.com/swoole/swoole/tags
注意:5.0以上版本适用于PHP8
PHP7建议使用4.x系列的版本。
我这里下载的是swoole-v4.8.13
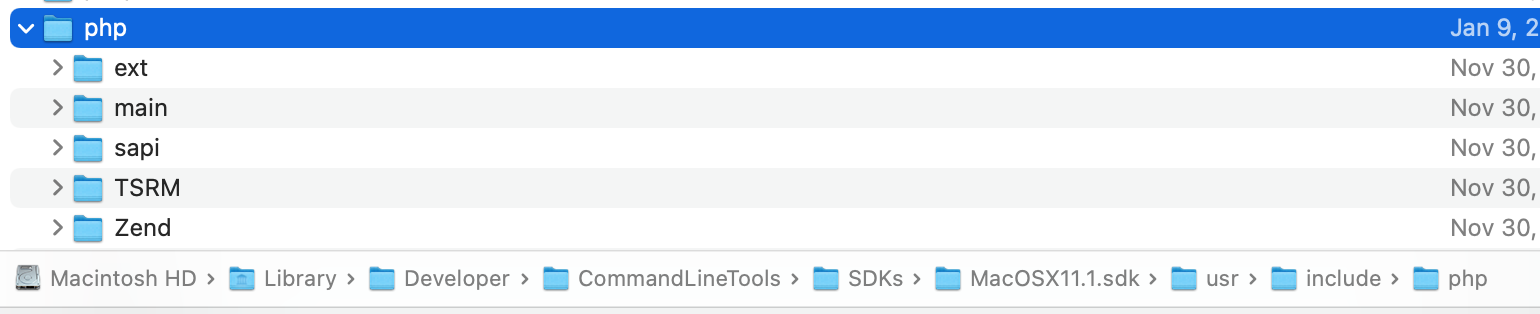
- 将下载的swoole-v4.8.13解押后(也可以直接通过sourcetree克隆不用解押),放到C:\cygwin64\home文件夹中


时间会比较长
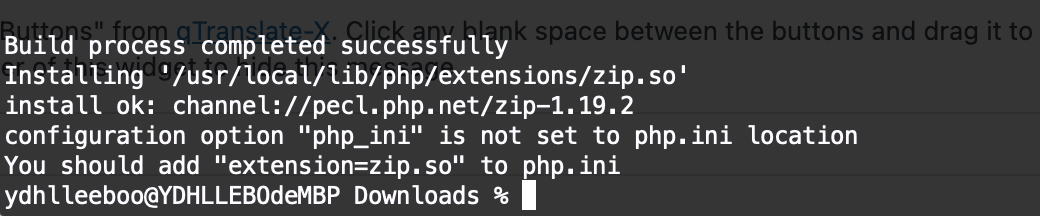
如果出现以下错误:

则需要再打开Cygwin安装程序重新安装扩展libpcre2-devel、pcre2


三、配置crontab定时任务
1. 右键以管理员身份打开Cygwin,安装cron服务,执行以下命令
cygrunsrv -I cron -p /usr/sbin/cron -a -D
2. 安装完服务之后,需要运行以下命令启动服务(此处执行可能会有错误cygrunsrv -S cron 报错:error starting a service :QueryServiceStatus:Win32 error 1062.)
cygrunsrv -S cron
3. 执行cron-config 重新安装配置crontab

please enter the password for user ‘administrator’: (此时输入的密码(使用系统账户的密码)是看不到的,没关系直接输入;再reenter(重新输入)
4. 按win+R打开运行页面,输入services.msc后进入服务


5. 找到Cron daemon双击打开属性列表,选择“自动”并且启动该服务(这样做是防止该服务没有被启动)

6. 配置定时任务的命令介绍
crontab -e #编辑任务
crontab -l #查看任务列表
crontab -r #删除任务
cronevents #查看执行情况
7. 创建shell脚本vim /home/cron.sh


8. 使用crontab -e来创建定时任务
crontab设定时程表的格式说明:

执行crontab -e配置定时任务(每天凌晨1点执行home目录中的cron.sh脚本):00 01 * * * sh /home/cron.sh


10. 使用crontab -l来查看,如下图

11. 使用cronevents查看任务执行情况